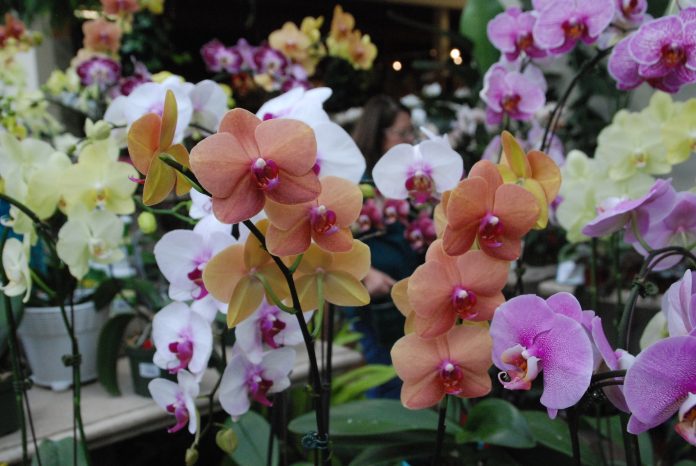
Add exotic long-lasting orchid blossoms to your indoor garden. These living bouquets provide months of beauty with minimal care. Just provide the proper growing conditions and success is sure to follow.
The moth or phalaenopsis orchid is the one best adapted to your home environment, making it the easiest to grow. It thrives in the same temperatures as people with night temperatures in the 60s and 70 to 80 degrees during the day. However, avoid hot and cold air drafts that can stress the plants and cause bud and flower drop.
Moth orchids are epiphytes, growing on but not parasitizing trees and other plants. They obtain water and nutrients from the air, rainwater, and plant debris that accumulate in their environment. They can be mounted on a board but usually are grown in an orchid mix made of peat, fir bark, and perlite. This or a similar combination retains water while providing needed drainage.
Place your plant in a bright location near an east-, west- or slightly shaded south-facing window. Your orchid will do best when it receives 12 to 14 hours of sunlight daily. Enlist the help of artificial lights if your orchids are struggling when natural light, especially during winter, is insufficient. Newer full-spectrum LED lights are more affordable, require less energy, and are longer lasting than the grow lights of the past.
Give your orchid a good watering about once a week with room temperature water just as the planting mix starts to dry. Pour off any excess water that collects in the saucer. Don’t allow orchids to sit in water and don’t water too often as this can lead to root rot and death of your plant.
Fertilize actively growing and flowering plants every third or fourth watering. Use an orchid plant fertilizer according to label directions. Skip winter fertilization if temperatures are cooler, sunlight is limited, and the plants are not putting on new growth.
Improve the environment even more by increasing the humidity around the plant. Group them with other orchids and indoor plants. As one plant loses moisture, or “transpires,” the others will benefit from the increase in humidity. Plus, you’ll create a beautiful display while improving the growing conditions.
Or increase the humidity around your plants with humidity or gravel trays. Place pebbles in the saucer and set the pot on top of the pebbles. Allow excess water to collect in the pebbles below the pot. As the water evaporates it increases the humidity around your plant. It also eliminates the need to pour off the excess water that collects in the saucer.
You won’t need to repot your orchid for quite a while. Wait to repot it until it is done blooming, the potting mix has broken down or the plant becomes pot bound. This is usually about every 18 to 24 months.
Enjoy a second flush of flowers with cool nights and proper post-flowering care. Leave the flower stem intact and the plant may produce a second flush of smaller blooms at the tip of the stem. Or you can cut the flower stem back between the second and third node from the bottom. For the best rebloom and to allow the plant to replenish energy spent on flowering, prune the flower stem back to about one-half inch above the leaves and enjoy a second flush of flowers in about a year.
And if reblooming your orchid is too much work, treat it like a long-lasting bouquet. And if you can’t stand to toss or compost it, give it to an avid gardener. There’s always someone willing to adopt and try to rebloom your plant.


