Fall is a great time to create new garden beds. Cool, usually drier, fall weather makes it easier to work in the garden and for plants to establish. Plus, the Garden To-do list is often a bit shorter this time of year and you will get a head start on the next growing season.
Start by locating the placement, size and shape of this new garden. Always contact your local underground utility locating service at least three business days in advance. It’s free and as easy as calling 811 or filing an online request. They will contact the appropriate companies who will mark the location of their underground utilities in your work area. This reduces the danger and inconvenience of accidentally knocking out power, cable or other utilities while you create a beautiful landscape.
Use a rope or hose to outline the area. Avoid tight corners or creating narrow grass borders that will be difficult to mow or require hand trimming.
Once satisfied with the layout, take a soil test and decide how to kill the existing lawn and weeds as needed. A soil test will tell you how much and what type of fertilizer you will need for the plants you are growing. Testing now means you will have the information in hand when it is time to fertilize in spring.
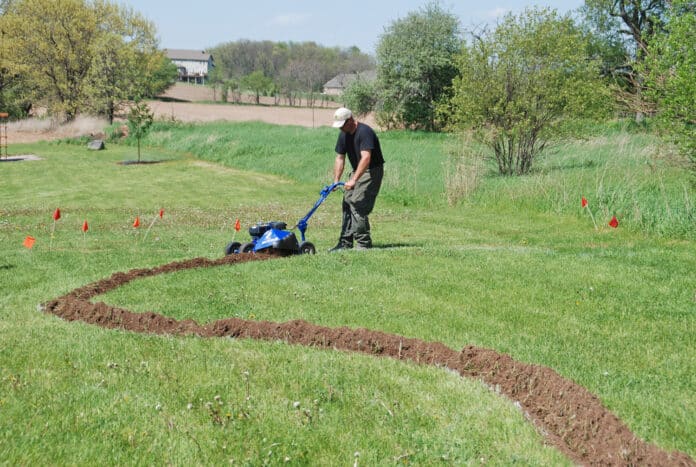
Next edge the bed. Use a shovel to dig a V-shaped trench around the border of the garden. Or rent or borrow a power edger to make larger jobs easier.
Once the edging is complete, remove healthy grass with a sod cutter and use it to fill bare spots in the lawn. Or create a planting berm or simply add it to the compost pile. Just place it green side down and wait for it to decompose.
Another method for clearing the grass is to cover the area with cardboard topped with several inches of organic mulch and wait for the grass and cardboard to decompose. You can push back the mulch and cut through the cardboard to plant immediately. Or wait to begin planting next spring after the grass and cardboard have broken down completely.
For quicker results and control of perennial weeds, try a total vegetation killer. These products kill the top and roots of the good and bad plants they touch. Read and follow label directions carefully. Start your soil preparation after the required waiting period has passed.
The next step, an important one, is soil improvement. It is easier to repair and improve the soil before you plant. Plus, time spent now yields years of good results. Add two to four inches of organic matter like aged manure, peat moss or leaf compost to the top 8 to 12 inches of soil. These materials improve the drainage in heavy clay soil and increase the water holding ability in fast draining sandy or rocky soils.
Check the labeling on the bag when purchasing these products. Make sure the product you select is USDA and STA certified to ensure quality. USDA BioPreferred certified products are derived from plants and other renewal products, providing an alternative to petroleum-based goods. Look for United States Composting Council’s STA certified compost that is a renewable, consistent, high quality product made from locally available organic material.
Once you mix in the organic matter, rake the garden level and smooth. Your garden is ready to plant. Fill it with spring flowering bulbs, perennials, trees, and shrubs this fall. Or cover it with shredded leaves or other organic mulch to suppress weeds and prevent soil erosion. Use the winter to plan the garden so you will be ready to plant once spring arrives.
In either case, your efforts this fall reduce your workload next spring and shorten the time to a more beautiful landscape.


