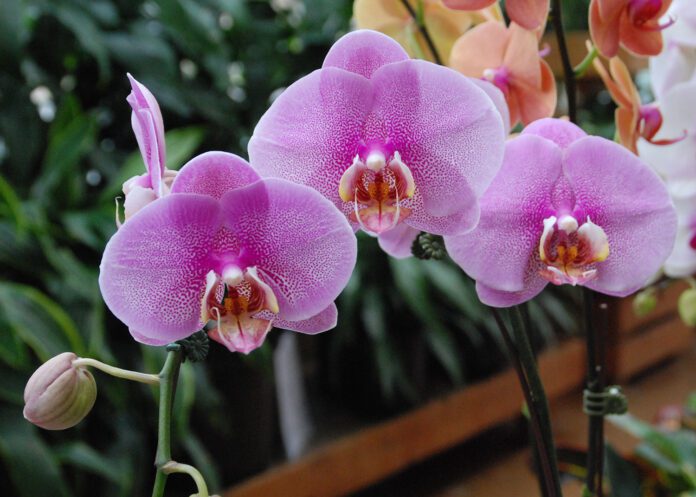
Brighten your indoor décor with beautiful blooming orchids. These living bouquets provide months of beauty with minimal care. Just provide the proper growing conditions and success is sure to follow.
Start with a Phalaenopsis, moth orchid, that is best suited to the home environment making it the easiest to grow. Purchase a healthy plant with green leaves, a few open flowers, lots of buds on a firm green flower stem and no signs of neglect.
Provide your orchid with proper care, similar to that of an African violet, for the best results. Water thoroughly with room temperature tap water just as the planting mix is beginning to dry. This is usually once a week in most indoor gardens. Pour off any excess water that collects in the saucer to prevent root rot.
Grow your moth orchid in a bright location near an east-, west- or slightly shaded south-facing window. Plants do best when they receive 12 to 14 hours of bright light. Give plants growing in low light locations a boost with artificial light. Keep lights 4 to 10 inches above the plants. Placing the plants on a reflective surface helps bounce light back up into the lower parts of the plant. Look for one of the many economical, energy efficient and attractive options for sale. Keep the lights on for 14 to 16 hours if this is the only light the plant receives. You can reduce the time to five or six hours for plants receiving natural light.
Boost the humidity around your orchid while creating a beautiful display by placing it among other indoor plants. As one plant loses moisture from its leaves, it increases the humidity around the neighboring plants.
Use gravel trays to further increase the humidity around all your indoor plants. Fill the saucer or plant tray with pebbles. Set the pots on the pebbles, elevating them above any water that collects in the saucer. When you water thoroughly the excess collects in the saucer. As it evaporates, it increases the humidity around the plants right where it is needed.
Fertilize actively growing plants when the soil is moist. Use a dilute solution of a complete fertilizer such as a 20-20-20 labeled for use on orchids or flowering houseplants. Avoid excess fertilization that can cause damaged black root tips, green floppy growth, and prevent flowering.
Once your orchid finishes flowering, continue growing it in a brightly lit location and water and fertilize as needed. You can either remove the faded flowers, leaving the flower stem intact and wait for a flush of smaller flowers at the tip of the stem or cut the flower stem back above either the second or third node, the thickened part of a plant stem where new growth appears, from the bottom. A third option is to cut the flower stem back to one half inch above the leaves. This is better for the health of the plant. It results in the best reblooming and allows the plant to restore energy used for flowering and focus on growing roots.
If forcing your orchid to produce a second flush of flowers seems like too much work, just treat it like a long blooming bouquet. Ease your guilt by gifting the plant to a fellow gardener that would be happy to accept the challenge. Then invest in a new and different orchid to brighten your indoor garden.


